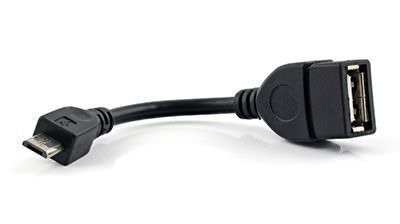
More and more Android smartphones and tablets are becoming available to consumers equipped to support USB On-the-Go (OTG). This awesome feature lets users connect any USB device, even full-sized keyboards, to their Android gadgets and utilize them. Below is a tutorial how to make your own USB OTG cable. Let the DIY projects begin! While most tablets and smartphones have mini or micro USB to allow for their slim and sleek body case, the Micro USB ports mostly all support OTG – so plugging in your custom USB drive and accessing its software from your phone is here. Your phone is now more computer than anything else!
USB OTG Advantages
One noted advantage of USB OTG allows external data storage devices to provide extra memory to the phone or tablet. Though Android support for USB OTG is becoming the standard with current and future models, most devices (some tablets and no phones) lack a standard USB host port, which is responsible for making USB connections possible. There are some options available – like buying a mini USB OTG cable – but they are rather costly! Fortunately, I have a tutorial that shows you how to alter a standard mini or micro USB cable, at low cost, for USB OTG use. Now before you start, make sure to proceed with caution and double-check that the OTG feature is available for your Android device.
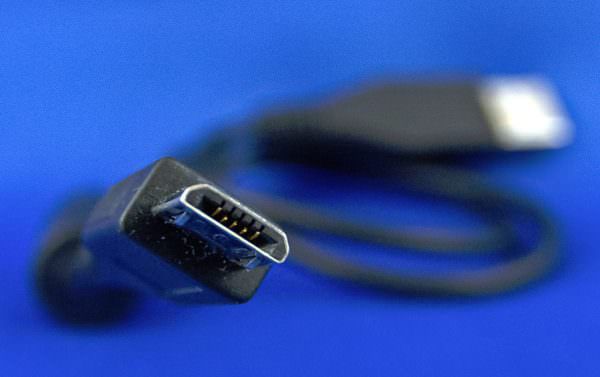
How To: Make a Micro USB OTG Cable
Material
You will need a standard mini or micro USB cable, a sharp knife (X-Actos work like a charm), a soldering iron, some solder wire, a wire cutter, small thin wires, and quick drying glue. Here are the basic steps. For a fully diagrammed tutorial go here.
Step 1:
Start by carefully slicing the USB cable at the connector end. You should end up with an outer sleeve (slit length-wise in two) that shows the inside connector. Take note that the outer sleeves will be glued back together when you’re done.
Step 2:
Once you’ve got the outer sleeve cut, find the connector’s leads and short Pins 4 and 5 to get the device into OTG mode. (Option 1) You can short them by either soldering them together (permanent) or (Option 2) solder two wires to each pin and lead those wires to the end of a switch. The second option allows you to switch between normal and OTG on any occasion.
Step 3:
Regardless of whether you chose option 1 or 2 (above), you must carefully glue the outer sleeves back up then convert the opposite end of the USB cable into a female connector. You can salvage parts from a desktop PC or buy a connector.
Step 4:
Finally, when you’re all set, solder the connector to the wires at the other end, and you’ve got your new OTG cable. As a last safety measure, check for possible shorted cables using a multimeter. That’s not a lot of hard work. And you now have your own, cost-effective USB OTG Cable!