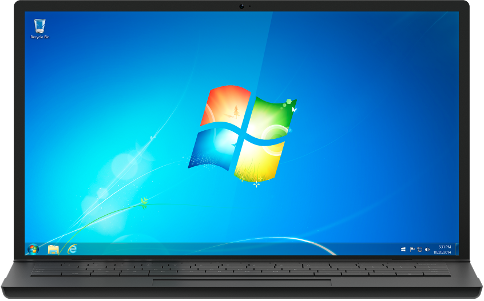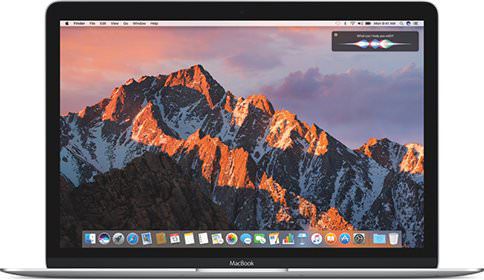
Most USB flash drive users do not ever think to format their drives. Most do not even realize it is possible to manipulate their file storage in this way. However it is an easy way to make the most out of your data storage experience. You don’t have to be a technological wiz to reformat your USB Drive; you just need your drive and your computer. We’ve provided step by step instructions for both PC and MAC users below!
Why does an average user need to format their USB drive? We cover the subject pretty well in a previous blog here but in short, formatting your USB drive erases data, restores the drive to full capacity, and increases efficiency. Who wouldn’t want that?
In general, most people are going to choose their file system based on capacity and performance. The size and quantity of files you need to transfer or store will help you decide which filing system to choose when you reformat your USB drive. A filing system is a system that organizes data into a specific way so it’s not just one big pile of incomprehensible data. Much like physical storage, individuals have preferences and requirements for storage of important information. A user may tailor their flash drive so that it can work with their needs.
File System Options
Before you begin to format your drive, you should know which file system option you wish to use. Keeping in mind that most users will be looking at storage and performance, we’ve summed up for you the major ones you’ll likely come across:
NTFS
NTFS is not recommended for flash drives, even if you’re working with large data. It’s preferably only used for Windows system drives. This is the default system that recent Windows version utilize. It stands for “New Technology File System.” It has a limited compatibility with other OS besides modern Windows. It’s meant to transport files larger than 4GB. It’s great for working with Operating Systems because of its modern features not found in the FAT group. Typically found with regular sized hard drives. It can be easily restored in case of failure.
FAT
This system is quite old; it was introduced in 1977! It’s no longer the default for Windows. It stands for “File Allocation Table.” You won’t see FAT or FAT32 if your drive is larger than 32GB. Unlike NTFS types, FAT file systems cannot be recovered or restored in case of failure. Technically, all FAT types are referred to as FAT in one big umbrella term. FAT and FAT 32 use less memory and work faster than NTFS.
FAT32
Don’t use this for internal drives; it doesn’t have the components and other safety features you want to do that. Use it instead for a removable drive that requires high compatibility but with small files (less than 4GB each). You won’t see FAT or FAT32 if your drive is larger than 32GB. It used to be the standard before NTFS came along. This is a highly compatible system as it works with all versions of Windows. However, it limits transactions at 4GB so you won’t be able to transfer large files like movies.
exFAT
You should use this format when you need high compatibility with large file sizes. It’s great for flash drives. This file system incorporates FAT32 in a more light weight system that avoids all the messy overhead of NTFS. It manages space better and with less fragmentation that FAT and FAT32. exFAT is often preferred over NTFS. It can read and write files larger than 4GB. Note that exFAT is not backwards compatible with other FAT systems.
This quick guide to file systems is not exhaustive; there are lots more details about each that you might want to compare between. These file systems all have their pros and cons. However, most people won’t need to bother with those details. Instead, let’s focus on how to reformat your USB drive.
Steps to Formatting Your USB Drive
Steps for PC/Windows

- Connect USB drive to computer
- Open Computer window (Or This PC, depending on your OS)
- For Windows Vista and 7:
- Click Start
- Click Computer
- Windows 8/8.1:
- Type “Computer” in search area of Start screen
- Click Computer
- Windows 10:
- Type “This PC” in search area of Start screen
- Click on This PC
- For Windows Vista and 7:
- In which ever window you used in step 2, right click the drive icon that shows your USB device
- In the menu, click Format
NOTE: WHEN YOU FORMAT YOUR DEVICE IT WILL WIPE EVERYTHING OFF YOUR DEVICE!
- Under Format Device Name (Drive Letter) window, click File System, and use the drop down arrow to select your preferred filing system
- Click Start
- Click OK on the warning message
- Click OK on the Format Complete message
- Click CLOSE on the Format Device Name (Drive Letter) window
- X out of the Computer or This PC window
Steps for Mac

- Connect your UBS drive to your computer
- Open Disk Utility
- Press Command + Space to open Spotlight search box, then type in “Disk Utility” then enter to launch
- Click to select your USB drive from the left panel
- Click to change to the Erase tab
- In Volume Format selection box, select the file system you want
NOTE: WHEN YOU DO THIS YOU WILL ERASE YOUR DATA ON THE DEVICE
- Confirm you want to Erase
- Close the Disk Utility window
Apple products have several other file systems available in addition to the ones already mentioned that won’t be discussed here.
Data storage technology is developing rapidly all the time and it won’t be long before users can store data in quantities previously unthinkable. When that time comes, you’ll be happy to be able to tailor your USB drive to your data storage needs.
