Let’s Boot it Up!
If you thought that your USB drive was only good for holding old pictures and forgotten homework assignments, then hold onto your hat. USB drives can do so much more! In addition to storing document and image files, they can also store programs and even an entire operating system. Casual users are often unaware of the extent of a drive’s capabilities, or maybe they believe that restoring, backing up, or creating a bootable drive is something for techies—far beyond them. This is untrue; it is very simple and the benefits heavily outweigh the couple of minutes it takes to do these things. If you’re still intimidated, then let us make things easy for you.
First, ask yourself: why do I need to back up, restore, or use a bootable flash drive? Well, backing up a flash drive is simply good sense. Backing up data in more than one place means you have more possible ways of accessing it. It also means that if one method of storage fails (say your drive connector broke or your computer crashed), then you have another copy or copies lying around to make more.
Restoring your USB drive, on the other hand, will bring your drive back to full capacity. Many users are unaware that several factors can inhibit the use of a drive’s complete storage capacity. These include unallocated space, hidden recovery partitions, shadow files, and formatting overhead which takes up unnecessary space. To get the full potential out of your USB drive, it’s a good idea to restore it so that it’s completely clear and all space is available to you.
Lastly, creating a bootable USB drive gives you great flexibility and security. People usually create bootable drives to run a different operating system (OS) than what is available on their desk or laptop. This is handy because if you’re using certain programs that are not available or more difficult to work within one OS, then you can easily use it with a bootable OS on your drive without having to install it on your computer itself. Switch between OS’s easily for a variety of projects without removing valuable storage space on your desktop. You can also run special programs like recovery or partitioning software using a bootable flash drive. Bootable drives are also noted for their utility in copying your hard drive without buying an expensive, physical hard drive. Bootable drives are great ways to increase storage space and give you options for how you interact with your programs and data. Casual users can profit greatly by participating in these “hacks” that have been common knowledge and practice in high tech circles for years.
So, how do you do it? Let’s start with the simplest: backing up your flash drive. You probably already know how to do this, but we like to be thorough.
How to Back Up Your USB Drive
First, decide which mediums you’re going to store copies of your information. The amount of data you have to copy and your own personal preference are going to determine whether you store your data on a disc, another USB drive, another computer, or a hard drive.
- To back up your USB drive to a writable CD:
- Insert blank writable CD into CD tray
- Select all items you want to copy (you can copy entire folders, too)
- Right click and select Copy to Folder
- Select the blank CD-R/RW option and click Copy
- The window will close when the data is done copying
- To back up your USB to another USB drive or hard drive:
- Insert both USB drives into computer
*If your computer does not have enough USB ports, then you will have to insert the drive you wish to copy and copy it to the desktop, then remove it and plug in the blank one to copy from there - Open both file viewers
- Select data you want to transfer and drag it over to the window of the blank drive
- The copying window will close when finished
- Insert both USB drives into computer
Next is to restore your USB drive to full capacity. Note that this is not the same as reformatting your drive. If you want to learn how to do that, check out our previous blog. There are many ways to restore your flash drive, but we’ll show you one that doesn’t require any downloaded software. This can be done with either Windows or Mac OS and just requires simple typed commands.
How to Restore Your USB Drive
- Plug in your USB drive
- Launch the command prompt
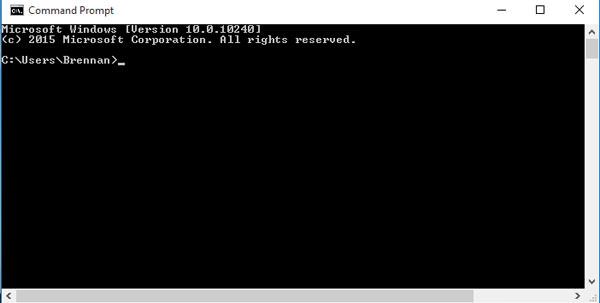
- In Windows: Go to Windows and then Search for “cmd.exe” and then select it
- In Mac: Click on the Spotlight icon, then type in “Terminal” and then select it
- Type “Diskpart” and press Enter
- Type “List Disk” and press Enter. This will display a table which will list available disks (your drive)
- Type “Select Disk x” (x refers to the number of your flash drive in the above step) and press Enter
- Type “Clean” and then Enter
- Type “Create Partition Primary” and press Enter
- Type “Active” and then Enter
- Type “Format fs=Fat32 Quick” and press Enter
- Type “Exit” and then hit Enter
And now, the pièce de résistance, how to create a bootable USB drive. This is actually very similar to how you restore your flash drive so it should seem familiar. We will show you how to do this for both Windows and Mac OS without using any downloadable software, just you’re your computer’s command center.
How to Create a Bootable USB Drive
Windows
- Plug in USB drive (you will need at least 8GB of space to accommodate an operating system)
- Go to Windows and select Start
- Type in “Command Prompt” and run as administrator
- You can either do this by typing in “cmd.exe” instead of “Command Prompt” OR right click on “Command Prompt” and select “Run as administrator” on the drop down menu
- Type “Diskpart” and press Enter
- Type “List disk” and then Enter
- Locate which disk is your flash drive in the table generated.
- If you’re unsure, remove it and run the “List disk” command again to see which option is gone (that’s your disk!)
- It will usually be the bottom option in the menu
- Type “Select disk x” (with x being the number corresponding to your USB drive in the previous step) and then Enter
- Type “Clean” and then Enter
- Type in “Create partition primary” and then Enter
- Type “Select partition 1” and press Enter
- Type “Active” and then Enter
- Type “format fs=fat32 quick” and then press Enter
- If you get an error, repeat the process but plug in “format fs=ntfs quick” instead
- Type “Assign” and hit Enter
- Close Command Prompt window; you can now copy an OS onto your bootable drive!
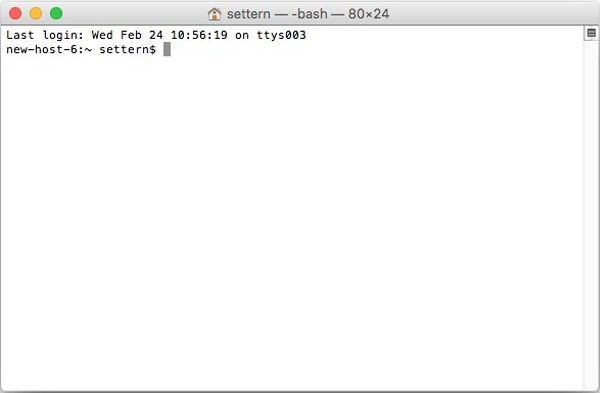
Mac
![]()
- Insert USB drive into computer (you will need at least 8GB of storage space to accommodate an OS)
- For Mac, you must have an ISO file or image file ready to bring into Terminal (as opposed to Windows which can be done at your leisure)
- Open Spotlight
- Type in “Terminal” and double click to open
- Type “diskutil list” and then hit Return
- Find your USB drive and then find its name under the “Identifier” heading
- It will usually be under the “external, physical” heading
- It will normally be called something like “disk1” or “disk2”
- Type “diskutil unmountDisk /dev/x” where x represents the disk’s Identifier name and number, then press Return
- Type “sudo dd if=” (DO NOT PRESSS RETURN YET)
- Drag the ISO or image file you want to boot into the Terminal; this will copy the address
- You could also type the folder path to the ISO file to do the same thing
- Press the Space key
- Type in the remainder of the command: “of=/dev/x bs=1m” (x is the name of your USB drive that you used a few steps ago) and press Return
- Type in your password that you use to log onto your Mac
- It’s normal if the letters don’t appear as you are typing!
- Hit Return to submit your password. Mac will begin creating the bootable drive and can take some time to complete. Leave Terminal open and your computer plugged in.
There are other tools and software to help you create bootable drives, some that come pre-installed with your computer such as the Windows 10/7 installation tool. There is a plethora of third party software available to help you create bootable drives as well that is suitable for novice and advanced users.